How to build a stunning link in bio site with Squarespace
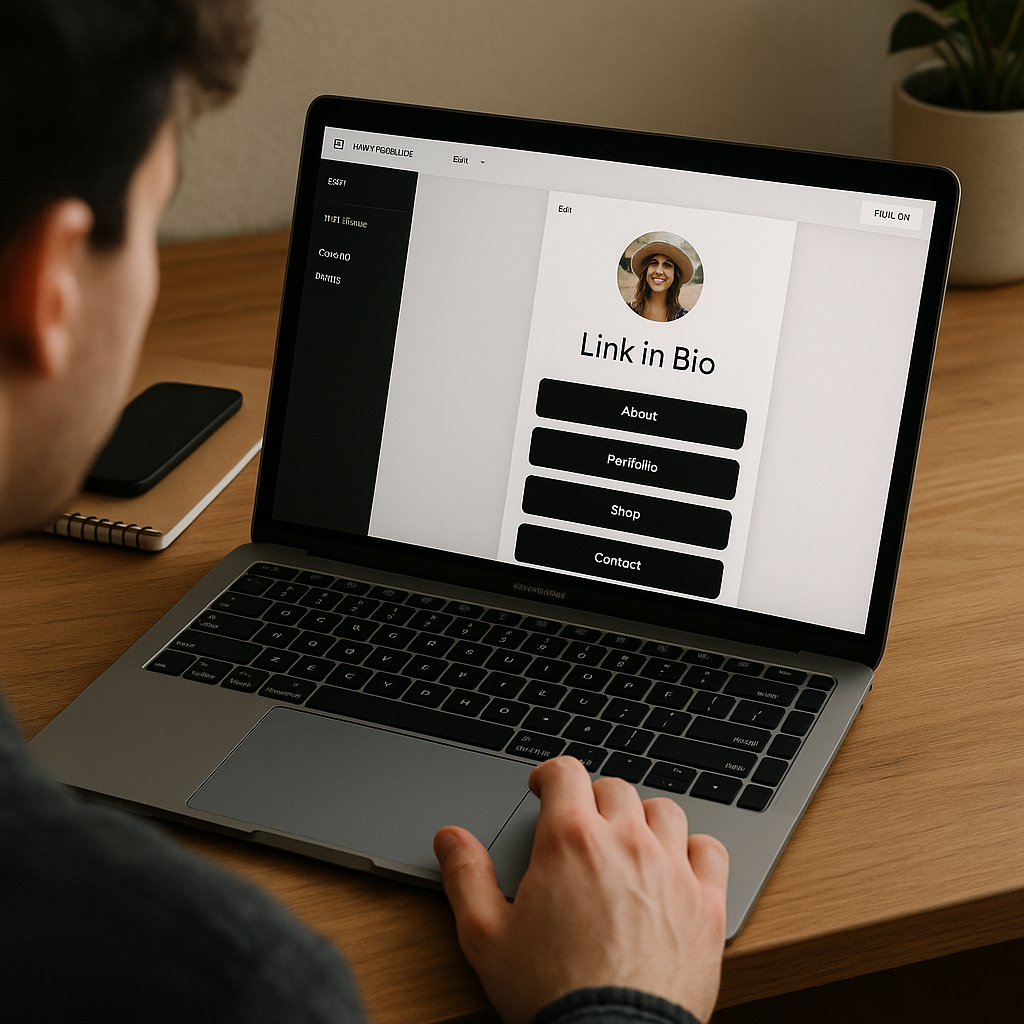
If you’re a content creator, freelancer, or small business owner with a social media presence, a link in bio site is one of the simplest ways to funnel your followers toward everything you do online. Instead of being limited to a single URL in your Instagram or TikTok profile, you get a clean, shareable landing page that houses all your important links in one place. Squarespace’s website builder has a Bio Sites tool that makes this easy to set up, for free. You don’t even need a paid Squarespace subscription to use it. I’ve tested the process on both the web platform and the Unfold mobile app, and I was impressed by how polished the results look for something you can build in under ten minutes.
Why Use a Link in Bio Site?
A link in bio site serves as a central hub for your online presence. Here are some reasons why you should consider creating one:
- Consolidation: Instead of juggling multiple links, you can direct your audience to one easy-to-navigate page.
- Customization: You can personalize the design to reflect your brand identity.
- Analytics: Track clicks and engagement to understand what your audience prefers.
- Ease of Use: Simple setup process that doesn’t require advanced technical skills.
Setting Up Your Link in Bio Site on Squarespace
Follow these steps to create your stunning link in bio site using Squarespace:
Step 1: Sign Up for Squarespace
If you don’t already have a Squarespace account, visit their website and sign up. You can start for free using their Bio Sites tool.
Step 2: Choose a Template
Once logged in, select a template that suits your style. Squarespace offers various templates that are optimized for link in bio sites. Look for one that aligns with your brand aesthetic.
Step 3: Customize Your Site
After selecting a template, you can start customizing your site:
- Add Your Logo: Upload your logo to enhance brand recognition.
- Choose Colors: Select a color palette that matches your branding.
- Fonts: Pick fonts that are easy to read and reflect your style.
Step 4: Add Links
Now it’s time to add your important links:
- Social Media: Include links to your social media profiles.
- Website: Link to your main website or portfolio.
- Products/Services: If you sell products or services, include those links.
- Contact Information: Make it easy for followers to reach you.
Step 5: Preview and Publish
Before publishing, preview your site to ensure everything looks good. Once satisfied, hit the publish button to make your link in bio site live.
Promoting Your Link in Bio Site
After creating your link in bio site, it’s essential to promote it effectively:
- Update Social Media Profiles: Replace the single link in your bio with your new link in bio site URL.
- Share it in Posts: Occasionally share the link in your posts to remind followers to check it out.
- Use QR Codes: Create a QR code that links to your site for offline promotions.
Maintaining Your Link in Bio Site
Regularly update your link in bio site to keep it fresh and relevant:
- Update Links: Remove outdated links and add new ones as necessary.
- Check Analytics: Review analytics to see which links are performing well and adjust accordingly.
- Refresh Design: Occasionally refresh the design to keep it visually appealing.
Frequently Asked Questions
No, you can use the Bio Sites tool for free without a paid subscription.
Yes, Squarespace allows you to customize the template, including colors, fonts, and layout.
You can use Squarespace’s built-in analytics tools to track clicks and engagement on your links.
Note: Building a link in bio site with Squarespace is a straightforward process that can significantly enhance your online presence. Take the time to customize it to reflect your brand and keep it updated for the best results.